An estate cleanout usually isn't just a cleanout. It's often tied to a loss, a difficult move into assisted living, or a family working through decades of accumulated belongings on a timeline they didn't choose. There's no version of this process that isn't at least a little heavy, but the practical side — sorting, hauling, disposing — doesn't need to add to that weight. This checklist is meant as a straightforward walk-through of that practical side, written for families in the Chandler area handling probate, downsizing, or a move into care.
Before You Start: Give Yourself More Time Than You Think You Need
Estate cleanouts almost always take longer than expected, especially when there's sorting involved — separating what family members want to keep, what has real resale or donation value, and what's genuinely at the end of its life. If there's any flexibility in the timeline at all, use it. Rushing a cleanout tends to mean things get thrown away that someone would have wanted, or the opposite — boxes of undecided items sitting in a garage for months because no one wanted to make the call under pressure. If the situation is probate-driven with a court-imposed deadline, or a facility move-in date that isn't moving, that's useful to know up front so the sorting and hauling steps below can be planned around it rather than squeezed at the last minute.
Step 1: Sort Into Simple Categories First
Before anything leaves the house, a simple four-way sort saves enormous time later: keep (family is taking it), sell or donate (has value to someone outside the family), documents and valuables (needs careful handling, covered below), and dispose (genuinely done). It doesn't need to be perfect on the first pass — the goal is just to stop treating every item as an individual decision and start moving through rooms. Many families find it easier to do this sort with more than one person involved, both for the physical work and because decisions about sentimental items are often easier made together than alone.
Step 2: Handle Documents, Valuables, and Anything Sentimental First
Paperwork, financial documents, jewelry, photographs, and anything with sentimental weight should be pulled aside and secured before the rest of the sorting gets underway, not found halfway through a dumpster load. This matters most in a probate situation, where documents may have legal relevance the family isn't even aware of yet. Take the time here even if it slows the early part of the process down — it's the one step in a cleanout that can't be undone once it's skipped.
Step 3: Separate What's Going to Family, Donation, or Sale
Once the keep/donate/sell pile is set aside and physically out of the house or moved to its own space, everything left is a much simpler decision. Furniture, appliances, and household goods in decent condition are often worth a donation trip or a call to a local charity or resale shop before they're written off — it's worth a short pass through this pile even under time pressure, since usable items heading to a landfill unnecessarily is one of the more common regrets families mention after the fact.
Step 4: Bring In a Dumpster for What's Left
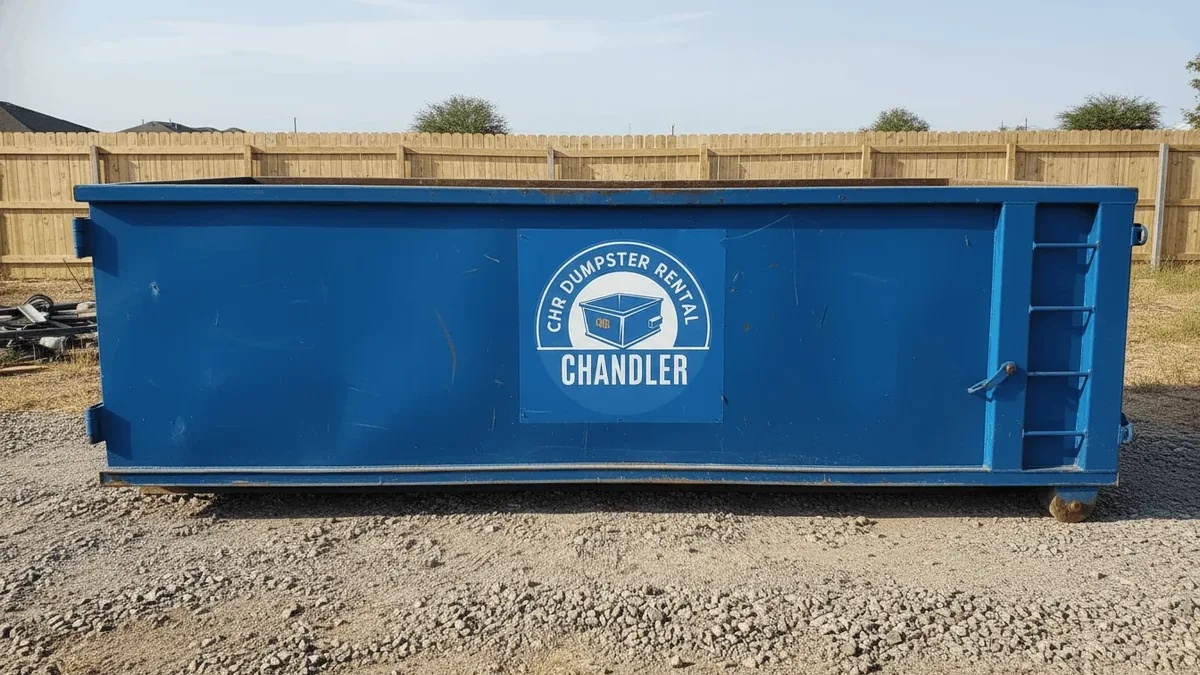
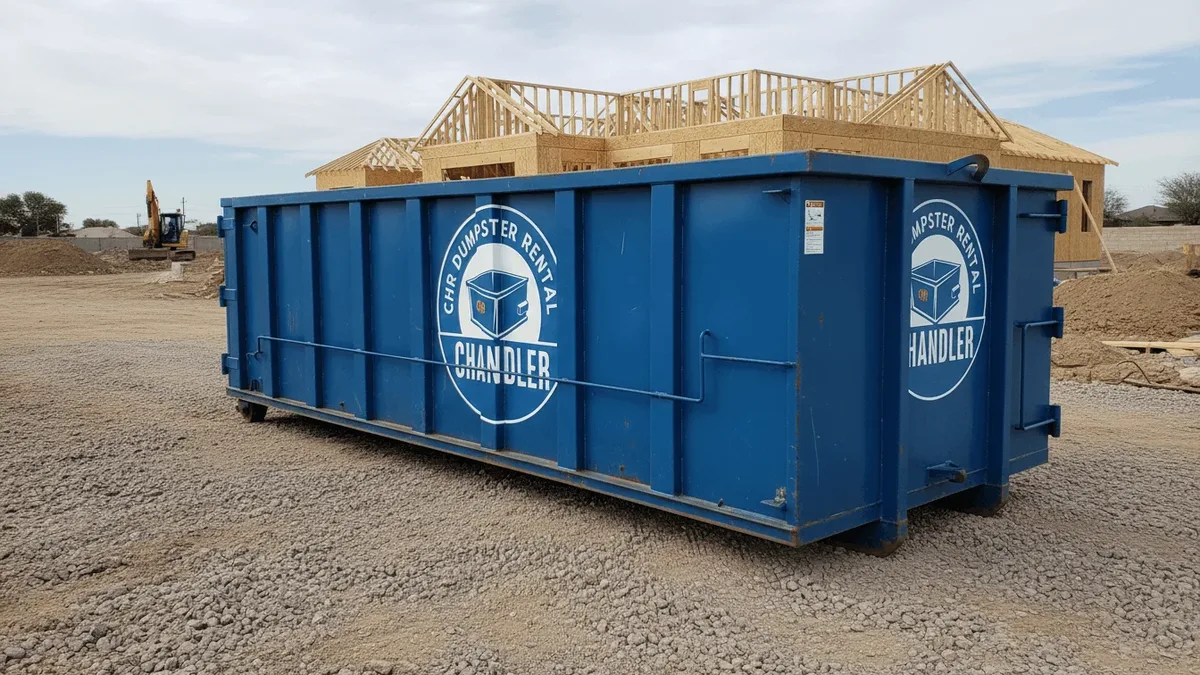
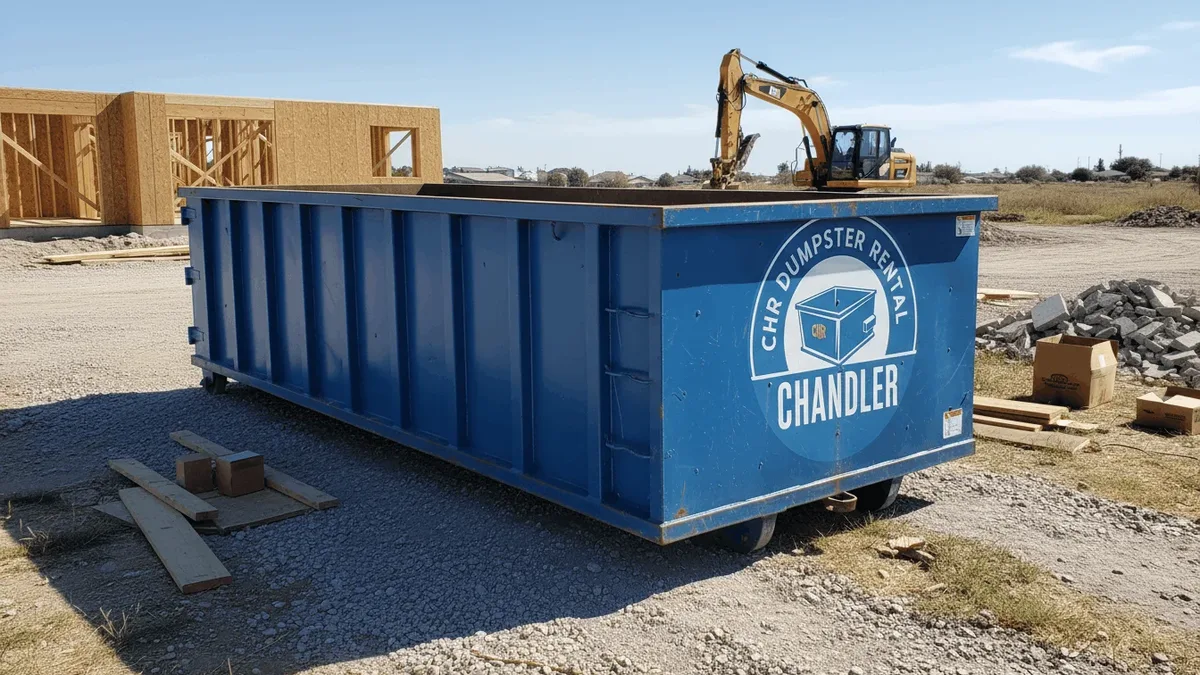
Once keep, donate, and valuables are out of the equation, what remains — worn furniture, old carpet and flooring, damaged goods, general household debris built up over years — is exactly what a roll-off dumpster is built for. This is usually the point where a container makes the most sense, rather than at the very start, since bringing one in too early can turn it into a catch-all before the harder sorting decisions have been made. Our estate cleanout service is built around this exact sequence — a driveway-loaded container sized to the home, with no pressure on timing beyond what works for the family. A 20 or 30-yard dumpster covers most single-family home cleanouts; a smaller 10 or 15-yard can work well for a single room, a garage, or a more contained downsizing job. See our dumpster sizes page for the full lineup if you're not sure which fits.
Step 5: A Few Practical Notes on What Can (and Can't) Go In
Most of what comes out of a home during an estate cleanout is completely fine for a standard dumpster — furniture, clothing, boxed belongings, old décor, damaged goods. A handful of items need a different route: old paint and household chemicals, car or lead-acid batteries (Arizona law specifically prohibits landfill disposal of these), and appliances containing refrigerant, which need the refrigerant recovered before disposal. None of this typically slows a cleanout down much, but knowing it ahead of time avoids a surprise mid-project. Our full guide to what can go in a dumpster in Arizona covers the complete list if a more detailed rundown is helpful.
Step 6: Placement, With No Pressure on Timing
A dumpster for an estate cleanout usually sits on the driveway for as long as the sorting and hauling actually take, which varies enormously from family to family. There's no single right pace for this kind of project, and the goal on our end is simply to have the container there when it's needed and gone when the work is done — not to rush a family through a process that's already difficult enough. If placement needs to happen somewhere other than the driveway, our Chandler dumpster permit guide covers what that involves.
When You're Ready
There's no wrong time to call and ask questions, even before any sorting has started — sometimes just talking through what a project looks like helps make the rest of it feel more manageable. Call CHR Dumpster Rental Chandler at (480) 576-5580 whenever the timing works for your family, whether that's this week or a month from now.